Docks
Add a Dock station
-
Connect a CAT 5-6 Ethernet cable to the RJ45 port in the IntelliDoX.
-
Turn the IntelliDoX on.
-
Press
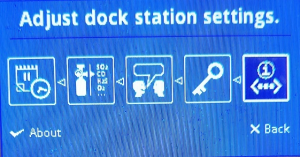
 until you highlight the About option, and then press the
  to select it.
-
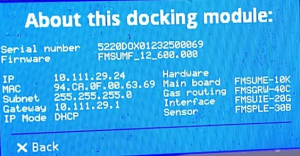
Copy the IP address from the About this docking module screen; you will use it later in Safety Suite to add it.
-
Press X to return to the home screen and navigate with the buttons

 to highlight the Passcode Option.
 -
Optional Step: Press
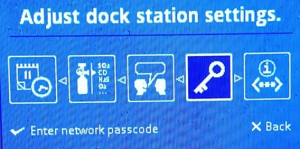
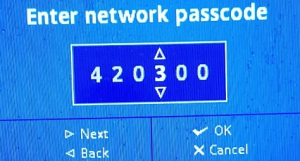
 to select the Passcode Option. The default value is 000000. We recommend changing it.
-
Enter a new Network Passcode and copy it because you will use it in Safety Suite, too, to restrict some operations. Press
 to save it.
-
Go to the Safety Suite software to add the IntelliDoX docking station to the Safety Suite.
IMPORTANT: The Safety Suite software and the IntelliDoX must be in the same network. -
Click the Assets Manager option from your main bar on the left.
-
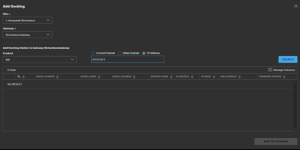
Click the IP Address button.
-
Enter the IP you previously copied.
-
Click SEARCH. Your Docking Station name will be displayed.
-
Select the Docking Station you want to add.
-
Click CONFIRM to select it.
NOTE: Each Docking Station can be associated with only one Gateway at a time.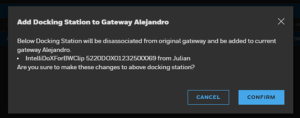
Manage IntelliDoX Configuration
-
Click the Docks tab to see the IntelliDoX listed. An Active-link icon next to the name indicates it is associated and communicating with your gateway.

-
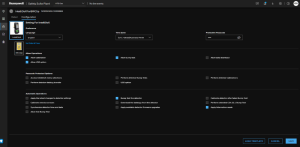
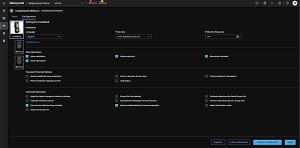
Click on your IntelliDoX name to see its configuration information.
-
Click on the Details tab for details such as Firmware version, Serial number, and assignment.
You can Deactivate the IntelliDoX on this page, change the User assignment, and add notes.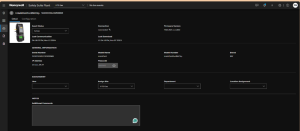
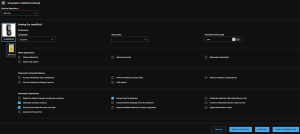
| SECTIONS | OPERATION | DESCRIPTION |
|---|---|---|
| SETTINGS |
|
General Settings |
| ALLOW OPERATION |
|
These are the operations that will be visible on the IntelliDoX screen. The options differ depending on the device type nested on the Docking Station. |
| PASSCODE PROTECTED OPTIONS |
|
These operations will request you for the passcode you created in Step 8. There is another way to update your passcode; it is described later. |
| AUTOMATIC OPERATIONS |
|
The IntelliDoX will start performing these actions after you close the Docking Station latch. |
Firmware Update
Click on the Details tab to see the Firmware version. If there is a newest version, a link will appear next to the current one.
Search
You can search the Docks by entering Serial number in search box.
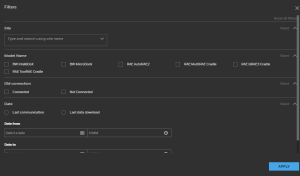
Filter Assets
Click on filter icon ![]() , filter the assets based on Status and Connections.
, filter the assets based on Status and Connections.
Create a Template and export it to the IntelliDoX via Flash Drive
Create a Configuration file to export it to the IntelliDoX via a Flash Drive.
-
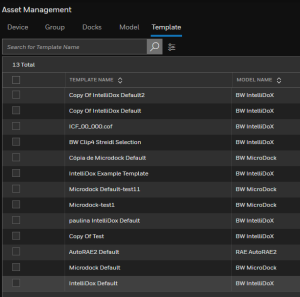
Go to Asset Management
-
Click on the Template tab.
-
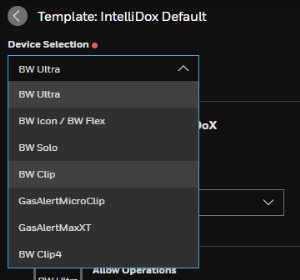
From the drop down menu, select a device and it's configuration template will display.
-
Click Export. Add a name, and click Export. A .COF file will be saved on your PC's Downloads folder.
NOTE: On your PC create a folder named System and move your .COF file to that folder, and then, copy the System Folder to the USB Flash Drive. The IntelliDoX requires that the .COF file is located in a System folder to recognize it.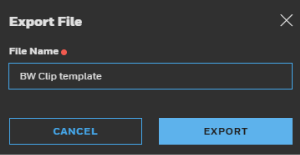
-
Go to the IntelliDoX, Plug in the Flash Drive and select Copy to dock to load the configuration file.
Save IntelliDoX Configuration as a Template
Connected IntelliDoX configuration can be saved as a new template and applied to another IntelliDoX.
-
Go to Asset Management and click on the Docks tab.
-
Click on the Dock's name.
-
Click on the Configuration tab.
-
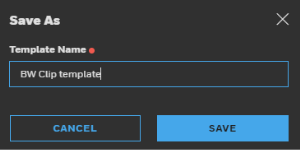
Click Save as Template.
Import configuration files from a USB flash drive into Safety Suite.
-
Go to Asset Management and click on the Docks tab.
-
Click View & Save Configuration File.
-
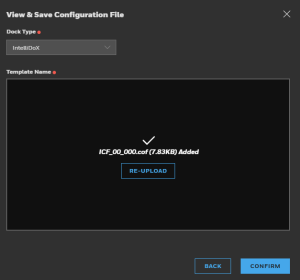
Click Browse files and select the .COF configuration file type. The file's name will display.
-
Click CONFIRM. The configuration file will display.
-
Click Export. Add a name, and click Export. A .COF file will be saved on your PC's Downloads folder.
NOTE: On your PC create a folder named System and move your .COF file to that folder, and then, copy the System Folder to the USB Flash Drive. The IntelliDoX requires that the .COF file is located in a System folder to recognize it.
-
Go to the IntelliDoX, Plug in the Flash Drive and select Copy to dock to load the configuration file.
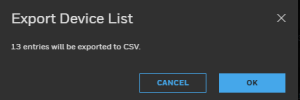
Export the device list from Docs Asset Management screen by clicking on  .
.
Click on OK.
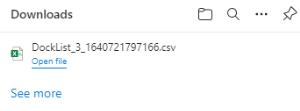
The device list will be downloaded.
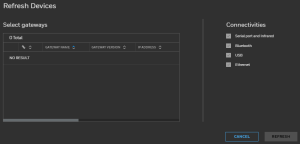
Refresh the device list from Asset Management screen by clicking on  .
.
Select the gateways to be refreshed.
Tick on the check boxes of connectivities to be refreshed.
Click on Refresh in the below screen.
Get data logs or event logs from a docking station not connected to the Network and Safety Suite, The user will use the docking station and the software separately.
- Place the gas monitor into the IntelliDoX nest and turn the IntelliDoX on.
- Plug the Flash Drive into the IntelliDoX USB Port located to the right of the LCD.
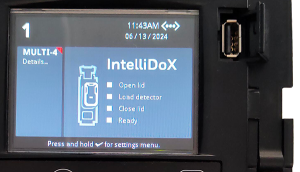
- Select Copy from dock and press
 to confirm. Datalogs and event log will be saved to the USB flash drive.
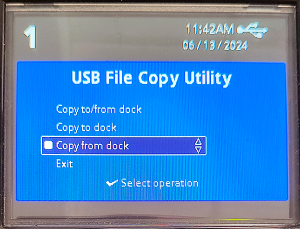
- Remove the Flash drive from the IntelliDoX and plug it to the PC and go to Safety Suite.
- Go to Asset Management and click Import.
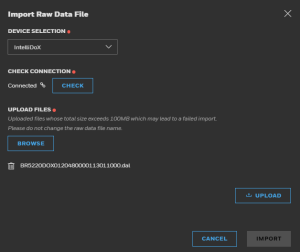
- Click Browse to locate the files in the Flash drive. .dal files are for the datalogs and .evl for the event logs (BW Clip only). Click UPLOAD, and finally, click Import. A confirmation message will display.

- Click
 to open the Task Management Center to verify the import status and to get the device's serial number to search for it's data.
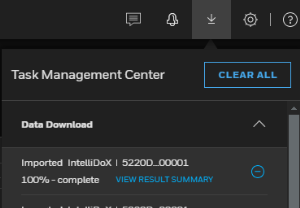
- Click View Result Summary.
- Select the device's serial number and copy it with CTRL+C.

- Go to Asset Management and Paste the Serial number in the Search field and select it from the drop down list.
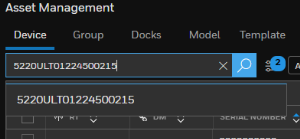
- The Device's info is displayed, so you can review the data.

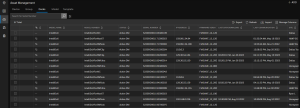
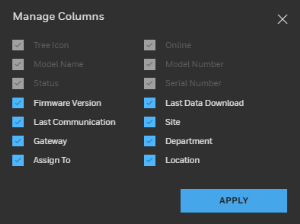
Manage your columns on Asset Management screen by clicking on  .
.
Select the columns by clicking on the check box.
-
Click on the Docks tab.
-
Select your IntelliDoX station from the list.
-
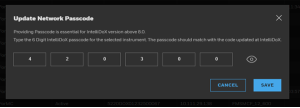
Enter a new Passcode as you did on the IntelliDoX Passcode screen.
-
Click SAVE.
-
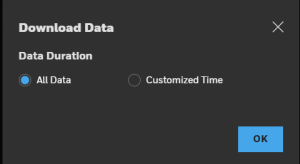
Select All Data to download all the available data from the dock. The first time, it will download all the available data. For a next time download, the downloaded data will be incremental.
-
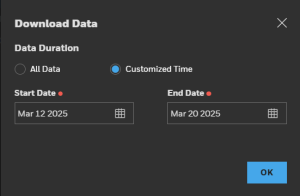
Select Customized Time to download all the available data from the dock in a specific time-range.
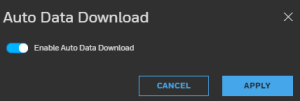
Click on the toggle to enable/disable automatic data download.
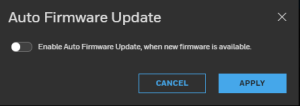
Click on the toggle to enable/disable automatic firmware update.

