Schedules
Schedules are defined for Reports and Data Downloads.
Create a Scheduled report
If you want to run the same report regularly (hourly, daily, weekly, etc) you create an schedule instead of running it manually and the system automatically generates the report.
The Scheduled reports info is sorted by:
-
Schedule Title
-
Schedule Type
-
Report Name
-
Start Time
-
Report type
-
Occurrence
-
Send via Email
-
Send via SMS
-
Status
-
Last Occurrence
-
Next Occurrence
-
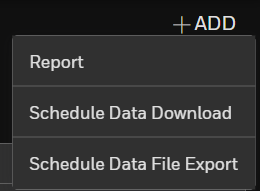
Go to +ADD
-
Select Report
-
Select a report from the Default templates or Custom template tabs.
-
Click Continue on the Check the Date Range window.
-
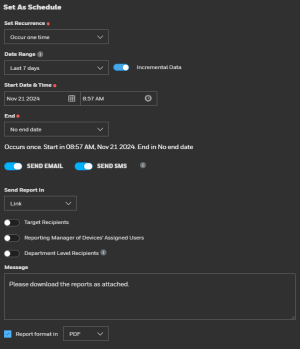
In the Set a Schedule window, modify the schedule fields as needed:
-
Recurrence — Hourly, Daily, Weekly, Monthly
-
Data Range — From 1 hour, up to 30 days
-
Incremental Data — The report will only show the new data from the last report, avoiding duplicate data on every report.
-
Start Date & Time
-
End Date
-
Delivery method: Via Email or SMS, as a Link or attachment; as a PDF or Excel file format.
-
Deliver it to a specific user, user's manager, or users from an specific Department.
-
Click Apply to confirm your changes.
-
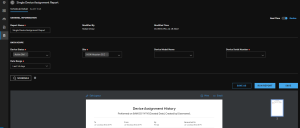
The Scheduled Detail tab page is displayed. You can Save As to save the template with a new name, RUN the Report again with the applied changes, or SAVE the template with the same name.
-
Go back to the Reports Panel, Select the Scheduled tab, your scheduled report displays in the list.
Create a Scheduled Data Download
-
Click Reports
-
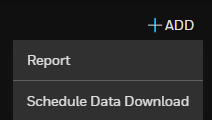
Click Add on the top right corner, and then Select Schedule Data Download from the drop down.
-
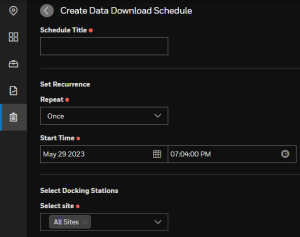
Fill all the required details.
-
Select the docking stations from the list and click Save.
Manage existing Schedules
Scheduled detail and Audit trail
Select a scheduled report from the list in scheduled page.
The Scheduled Detail tab is selected. You can modify the following data:
-
Report Name
-
Select the Device Serial Number
-
Select a Site
-
Select an Assignee
-
Edit the layout
Audit Trail
Click on the Audit trail tab to see when the last schedule run.
Search
You can search by entering key words of the schedule such as report name, occurrence type etc in the search box.
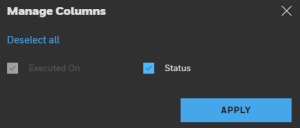
Manage Columns
Click  and select the columns to be displayed by clicking on their check boxes.
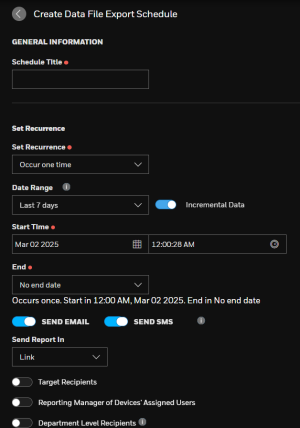
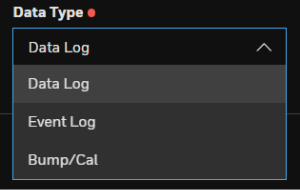
SCHEDULE DATA extract
If you want to run the same export regularly (hourly, daily, weekly, etc) you can create a schedule instead of running it manually and the system will automatically generate the export.


