Create a Custom Template Report
-
Click on the Reports panel.
-
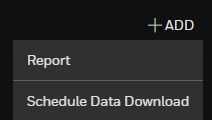
Click +ADD on the top right corner.
-
Select Report from the drop down menu.
- Click on the Default Template tab.
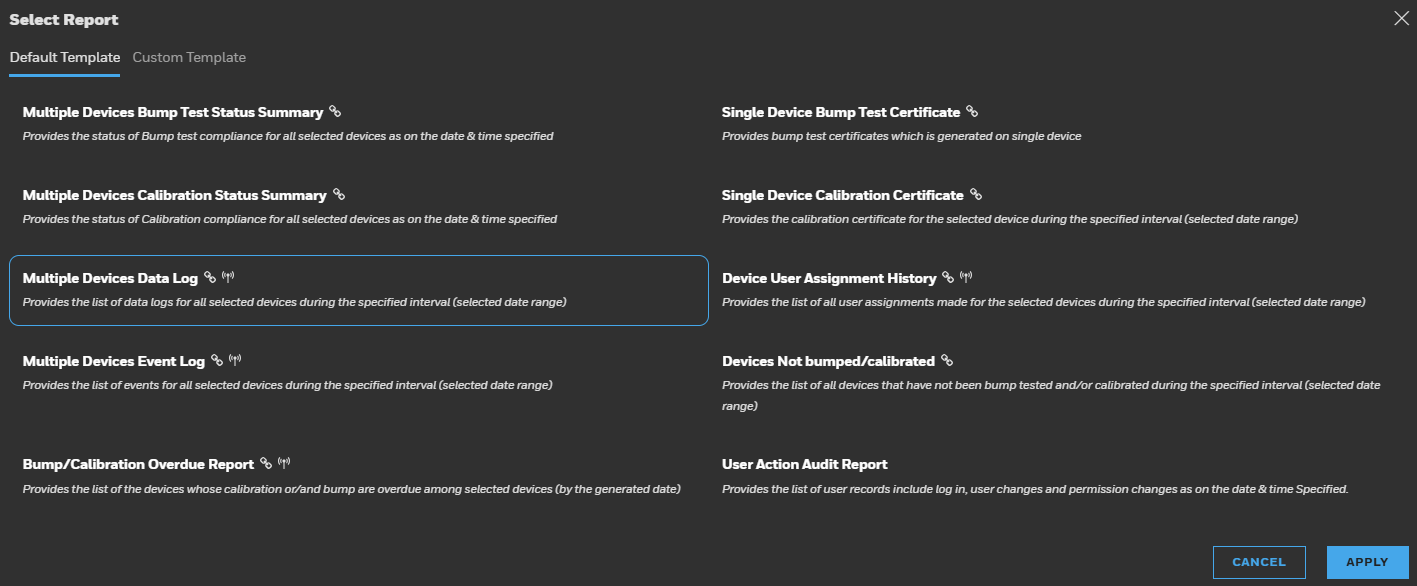
NOTE: Next to the Report's name, there can be these two icons representing the data source:

Real Time for wireless devices
Device for devices connected via USB cable or an IntelliDoX Station - Select a report from the list and click APPLY.
- Report includes several filters you can update depending on your chosen template.
- Report Name.
- Device Status.
- Site.
- Assignee.
- Device Model Name.
- Device Serial Number.
- Test Result.
- Date Range.
- Start Time.
- End Time.
 Select Real Time (wireless) or Device data source
-
- Click
 , next to the template view.
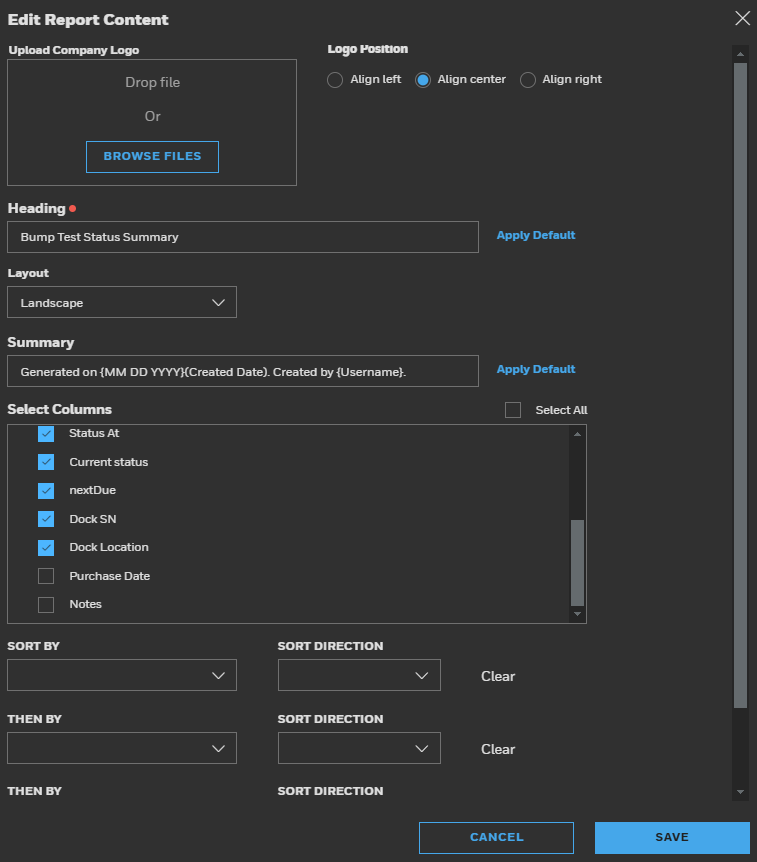
 - Select any of the following design elements to customize your report:
- Upload Company Logo and align it.
- Enter a Heading.
- Change layout orientation as Landscape or Portrait.
- Modify the heading summary.
- Select the columns you want to be displayed: Device type, Serial number, Assignee, Last bump test date & time, Result, Status at, Current status, Next due, Dock SN, Dock location, Purchase date, and Notes.
You can drag & drop the columns to a different position within the list, so you can change the order the columns will display. To do so, click on any column name and move it up/down. - Choose the criteria to sort the report and then select the direction (Ascending or Descending). You can select up to the first three sorting elements.
- Click Save.
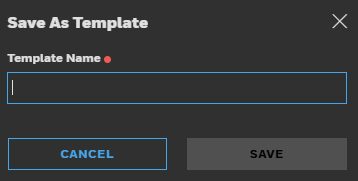
- Click Save As to save it as a new template.
- Enter a Template Name and click Save.
- Click on the back arrow at the top left side of the screen.
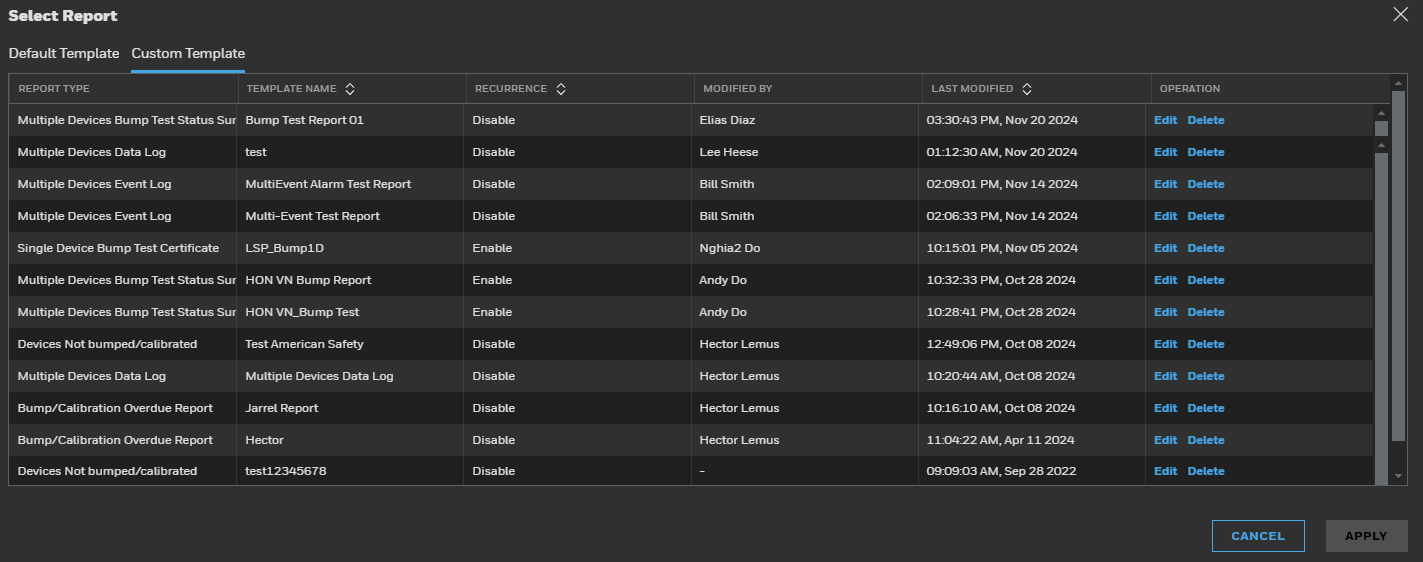
- Click on the Custom Template tab. Your template will be displayed in the list.
- OPTIONAL STEP. Click on your template's name and then, click APPLY to run a new Report.
Delete a custom Report
-
Click on the Custom Report tab.
-
Click Delete next to your report's name..
Edit a custom Report
-
Click on the Custom Report tab.
-
Click Edit next to your report's name.
-
Edit the Report.
-
Click Run Report to view the report with the applied changes.
-
Click Save as to save the report under a new name, or click Update to save it with the same name.